
Introduction
WebSockets have been around for some time now, and even though it can be implemented in any language, it always had a strong association with Node.js and the socket.io library. This has changed though since the release of Rails 5. With this new major release, Rails has implemented their own framework for handling WebSockets. It released a combination of server-side classes for channel processing and a client-side Javascript hook for easy subscription and reading of messages.
How did we get here?
WebSockets was a pivotal point in web applications. Think of apps like Facebook, Basecamp, Slack, Wunderlist. All are real time applications that subscribe to what are called channels and get real time notifications when data on the server changes. That’s what enables you to receive a message almost instantly. So what did developers do before this technology?
Polling
Polling was the first attempt to create as close of real time communication as possible. It was a good attempt, but unreliable, slow, and extremely resource intensive. Basically the browser would make AJAX requests to the server asking if there were any new “updates” at a set interval. You can easily see how this method would not scale.
Long Polling
Long polling became more popular around 2007 and was based on the idea of polling, but taking advantage of being able to keep the HTTP connection open for a prolonged period of time (against regular polling where you need to establish a new connection every time you poll). Also called hanging GET, long polling can keep the connection open until data is received, so technically you would receive the data real-time, but you would still need to re-open the connection every time you receive one update. Performance is actually worse here, because connections are kept open for longer periods of time.
Streaming
Streaming looked like a good solution, but a bit of a hack. Basically the HTTP connection is established and using the technology used to stream big data (files) back to the browser it enables the browser and the server to keep the connection open for an indefinite amount of time because the server never sends an end of connection signal. This enables the server to send messages to the browser in real time with just one connection; although this is still a one way communication channel.
WebSockets
WebSockets were instructed to solve all these problems. It enables to create a TCP connection between the browser and the server that stays open and enables two way real time communication, minimizing overhead and thus increasing performance. The way a WebSocket connection is created is by doing a handshake to switch from the HTTP protocol to the WebSocket one. Here is an example HTTP handshake. Notice the two headers "Connection" and "Upgrade".
  GET ws://example.com/cable
  Origin: http://example.com
  Connection: Upgrade
  Host: example.com
  Upgrade: websocket
  Sec-WebSocket-Key: x3JJHMbDL1EzLkh9GBhXDw==
The server would reply with something like this:
  HTTP/1.1 101 Switching Protocols
  Upgrade: websocket
  Connection: Upgrade
  Sec-WebSocket-Accept: HSmrc0sMlYUkAGmm5OPpG2HaGWk=
A look into ActionCable
Developing a Task creation tool
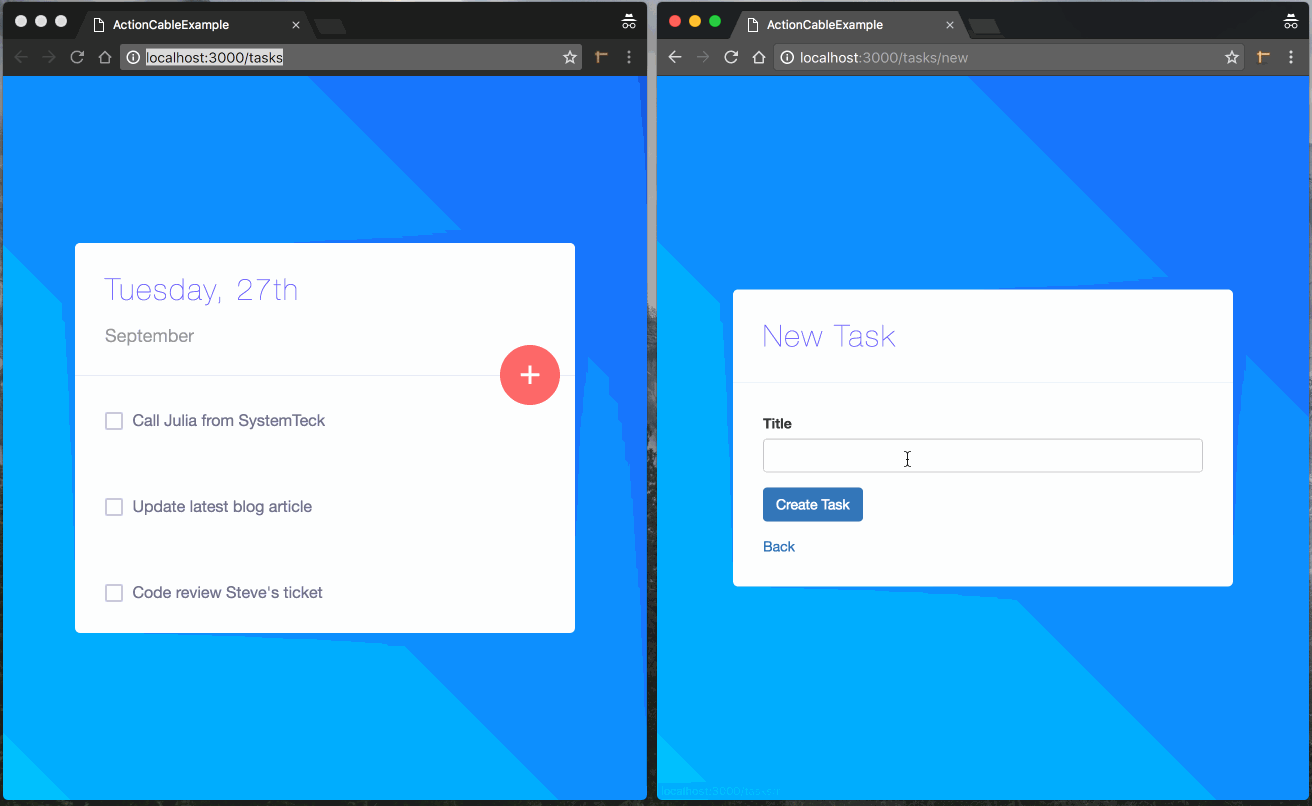
In this article, we will be building a simple to-do list in Rails 5 using ActionCable. Make sure you have Rails5 installed by calling gem install rails, then create your application using:
rails new example-app
rake db:create
Rails 5 will come ready with ActionCable, but there a few configurations we need to set before we can get started:
Under config/environments/development.rb add the following code:
config.action_cable.url = ‘ws://localhost:3000/cable'
Under app/views/layouts/application.html.erb add the following in the HEAD
<%= action_cable_meta_tag %>
Now that we we have the configuration done, let’s scaffold our Task object by running:
rails g scaffold task title:string description:text completed:boolean
rake db:migrate
Creating tHE CHANNEL
All channels can be found under app/channels and your base classes under app/channels/application_cable where channel.rbis your channel base class, and connection.rb is the base class for authentication.
Create task_channel.rb under app/channels
class TasksChannel < ApplicationCable::Channel
  def subscribed
    stream_from 'tasks'
  end
end
The subscribed method defines where the messages are coming from when someone subscribes to his channel. There are a few different methods you can use, but let’s just look at stream_from, which takes a channel string name used in Redis as the first argument.
Sending messages to a channel
Broadcasting messages to channels is easy, and can be done in a few different ways. In our use case, we want to broadcast an event every time a new task get created, saved, and deleted. The best way is to then implement an after_save and after_destroy even method in the Task model like so:
class Task < ApplicationRecord
  after_initialize :init
  after_save :broadcast_save
  after_destroy :broadcast_delete

  def init
    self.completed ||= false
  end

  def broadcast_save
      ActionCable.server.broadcast 'tasks', status: 'saved',
                                            id: id,
                                            title: title,
                                            description: description,
                                            completed: completed,
                                            html: render_task
  end

  def broadcast_delete
    ActionCable.server.broadcast 'tasks', status: 'deleted', id: id
  end

  private
  def render_task
    ApplicationController.render(partial: 'tasks/task', locals: { task: self })
  end
end
The first argument of ActionCable.server.broadcast is the channel string name we used in TasksChannel and then you can pass an object as a second argument which will then be translated in to JSON.
For ease of use, on the client-side we are also rendering the model's HTML and passing that as well.
Note*: Creating a new Task in the Rails console will not trigger a broadcast properly.
Client Side Javascript
In Rails 5 you will notice that app/assets/javascripts now has a new file called cable.js.
Create a new file called tasks.js under app/assets/javascripts/channels and add the following code to include it in the application.js
//= require_tree ./channels
This is what task.js looks like:
//= require cable
//= require_self

(function() {
    // Subscrive to the class name of the channel
    App.tasks = App.cable.subscriptions.create('TasksChannel', {
        /**
         * Whenever this channel pushes content, it is received here
         */
        received: function(task) {
            var $tasks = $('.tasks');
            var $task = $('[data-task-id="' + task.id + '"]', $tasks);
            if ($task.length > 0) {
                // Existing Task
                switch (task.status) {
                    case 'saved':
                        $task.replaceWith(task.html);
                        break;

                    case 'deleted':
                        $task.remove();
                        break;
                }
            } else {
                // New Task
                $tasks.append(task.html);
            }
        }
    });
}).call(this);
As you can see, we are requiring cable.js to get all the required objects to work with ActionCable. Subscribing to a channel is as easy as calling App.cable.subscriptions.create where the first argument is the class name of the rails channel you are subscribing to. With this helper JS class there are a few methods you should define, but the most important one is the received method which gets called whenever a new message gets broadcasted from the server.
Conclusion
In conclusion, Rails, created a simple way to build real time applications that can interact with ActiveRecord and the entire framework. Our development team is excited to use it and see how far it can be pushed, but are pretty confident that the combination of using Redis and Jobs (to queue broadcasts) will be powerful and be able to scale.